
Welcome to Shadovia, where you are the only one responsible for your survival in a world full of mysteries mixed up with danger and strange creatures.
Shadovia calls on every adventurer within us to explore its vast world, full of different paths, and unravel the secrets.
Your main target in Shadovia is to finish all the quests you would be given by the town’s NPCs, which would range from taking out huge bosses to cooking pumpkin soup.
Roblox – Shadovia might look easy, but it has a lot of hidden things, and we are going to go through everything in it.
Shadovia – Basics
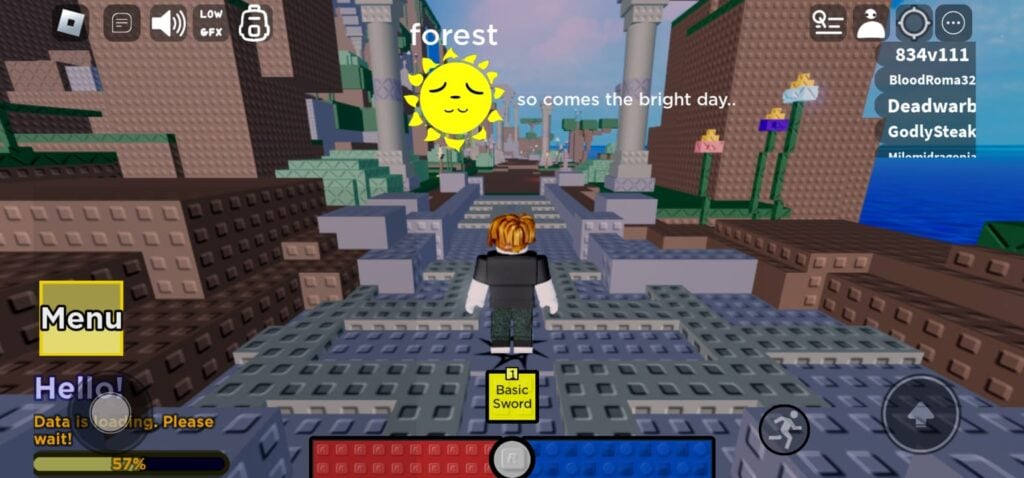
Photo: The Elemental Deux
Let’s start with the basics and the UI of Roblox – Shadovia. The first thing you will notice is the red and blue bars at the bottom of the screen.
Those bars indicate both your health for the red bar and your stamina for the blue bar.
Stamina is used whenever you either run or attack, which we will get to later on.
On the left side of the screen, you can move all around, and on the right side of the screen, there are all the options you would need for gameplay in Shadovia.
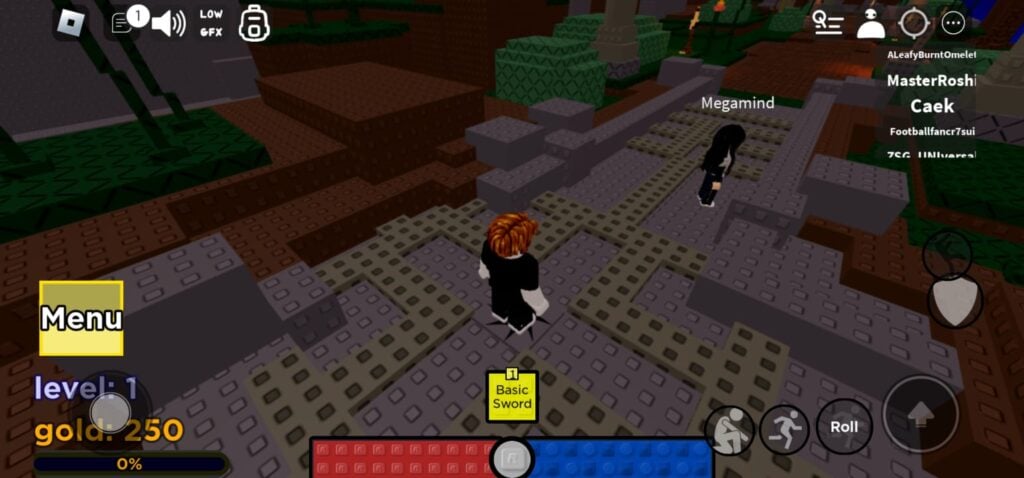
Photo: The Elemental Deux
On the right-hand side, the button that is an arrow up is used for jumping. As you progress through the game, you will unlock the double jump, where you press twice for a higher jump.
Right next to it is the roll button, where you roll on the floor to get beneath something. Next to it is the sprint button, so you can run faster, but remember that it would use stamina.
Next to the sprint, there is the crouch button to walk slowly; above that, there is the shield button to block incoming damage.
Remember, to climb a wall in Shadovia, you have to go to it and hold the jumping button.
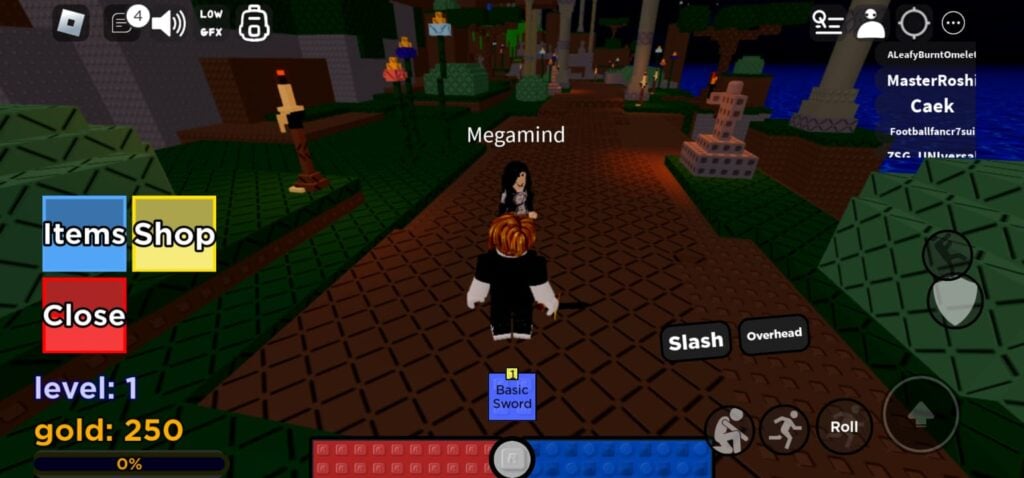
Photo: The Elemental Deux
On the left are your level, your gold, and your EXP bar; right above them is the menu button.
In the menu button, there are the items and shop tabs, where you can either adjust and equip your items or buy stuff using Robux.
Let’s move to the attacking phase in Shadovia. Right above your health bar will be your quick items, and as a beginner, you will receive a basic sword that you have to press on to equip or unequip it.
Once you equip a weapon, its two options will appear on the right side. The slash is the normal hit, which consumes less stamina than the overhead, which deals much more damage but consumes more stamina.
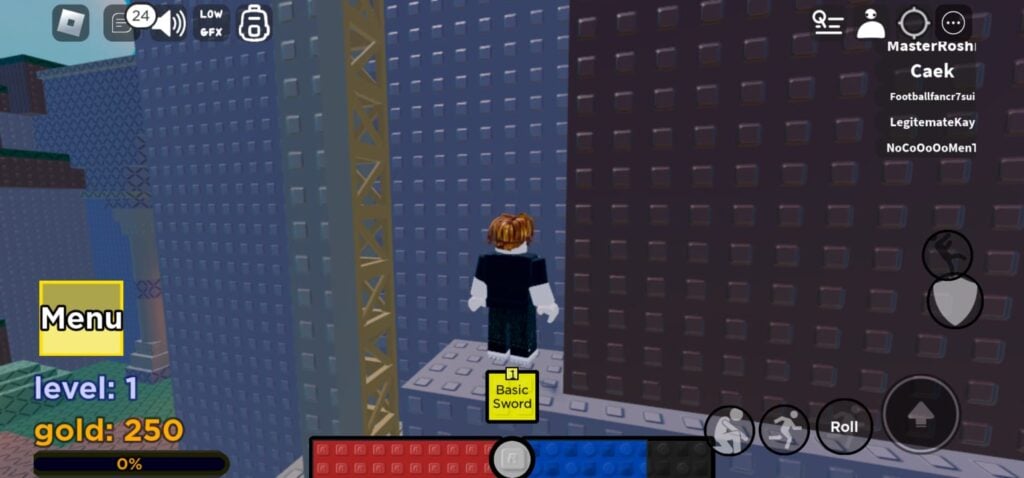
Photo: The Elemental Deux
Continuing with the UI, on the top left corner there will be the Roblox menu, then the chat, where you can talk to the people on your server.
Then there is the sound and graphics button to adjust them.
Moving to the important part, which is in the right top corner, the first one is the menu for your emotes, then you get the button to adjust your camera.
Next is the tab that shows the people nearby, and last but not least is the quests tab, which shows you the quests you are assigned to do.
Shadovia Chapter 1 Walkthrough – Home
Starting Place

Photo: The Elemental Deux
After we have known all the basics, let’s dive into the Shadovia world. The first thing when you start the game is that you will be inside a place where you have to leave in order to travel to the main town.
All you need to do is walk straight and go up the stairs, where you will find the huge gate.
It will say to press E to interact with the gate if you are on Shadovia’s PC version, but if you are on Shadovia mobile, right above the jumping button, there will be a gray circle. Press on it to interact with anything.
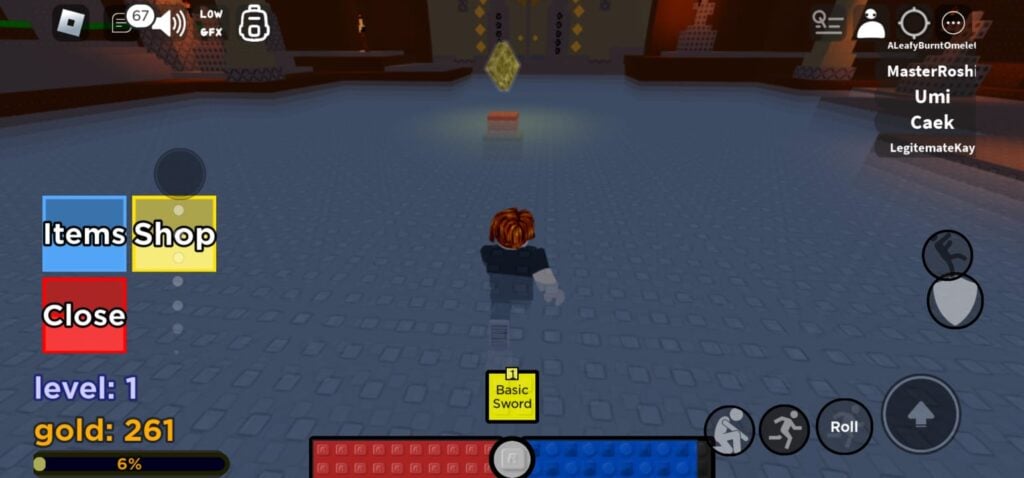
Photo: The Elemental Deux
After you kill the goblin and interact with the gate, you will find the Kindle Dream Isle, which will take you to the main island.
This floating yellow diamond is always used to travel between places, which you will need later on to know their places so you can always return to them in case you want to go somewhere that is far away
Starting Village
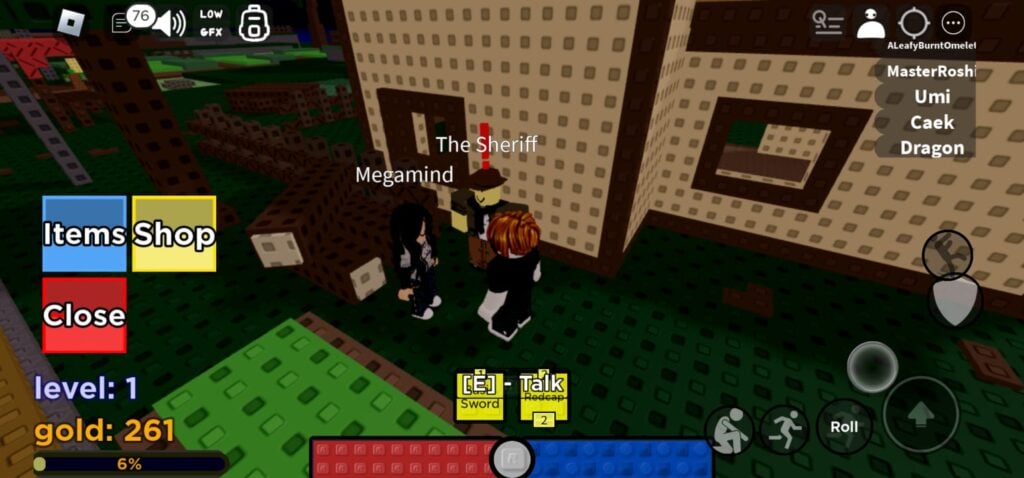
Photo: The Elemental Deux
The first NPC you will meet once you arrive on the Isle is The Sheriff, who will give you your first 2 quests.
Bandit Squasher
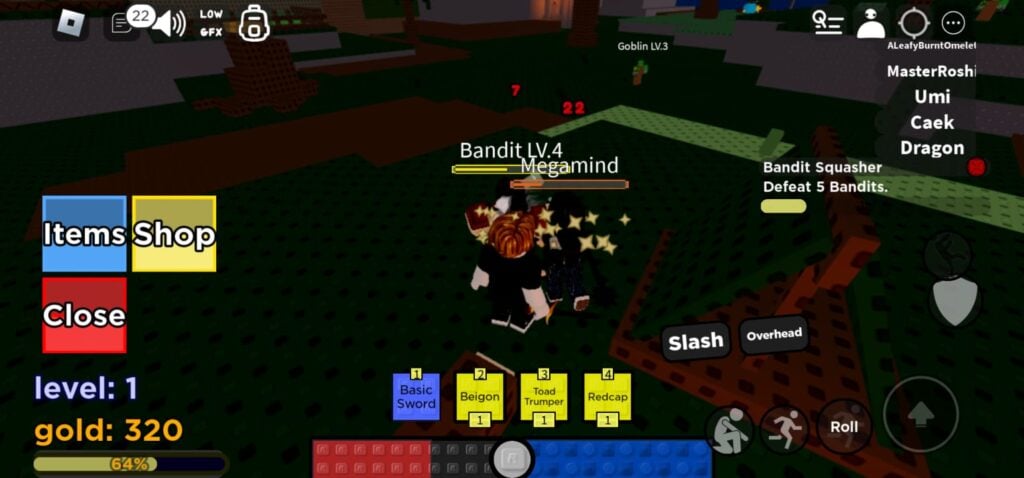
Photo: The Elemental Deux
If you started with this quest, then you must be at level 1, and the bandits are level 4, so make sure to defeat some goblins at lower levels before you fight the bandits.
Also, you can bring a friend for help, as Bandit Squasher will require you to defeat 5 bandits for Sheriff.
Remember that the bands can be found near the outskirts, and once you finish the quest, you will be awarded a Sheriff’s Shooter and 25 EXP.
Bandit Slayer
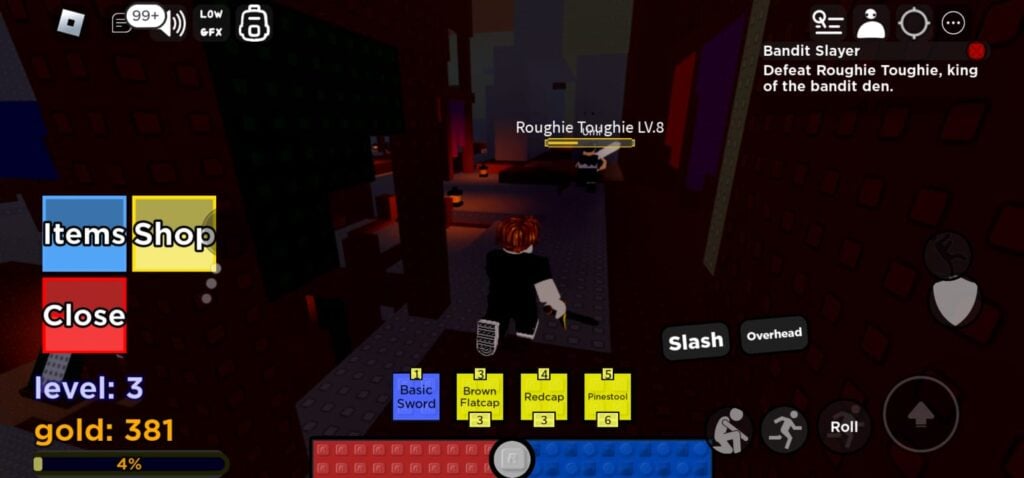
Photo: The Elemental Deux
After you have proven to the Sheriff that you can take out the normal bandits, the Sheriff will assign you a new quest, which is the bandit slayer.
You will be required to take out the Roughie Toughie, which is found in the Bloxshire Cave. Don’t worry, you won’t lose your way there, if you interact with the Sheriff during the quest, he will give you directions there.
Defeating the Roughie Toughie will grant you the Sheriff’s Hat and 50 EXP.
In for a Dayflower
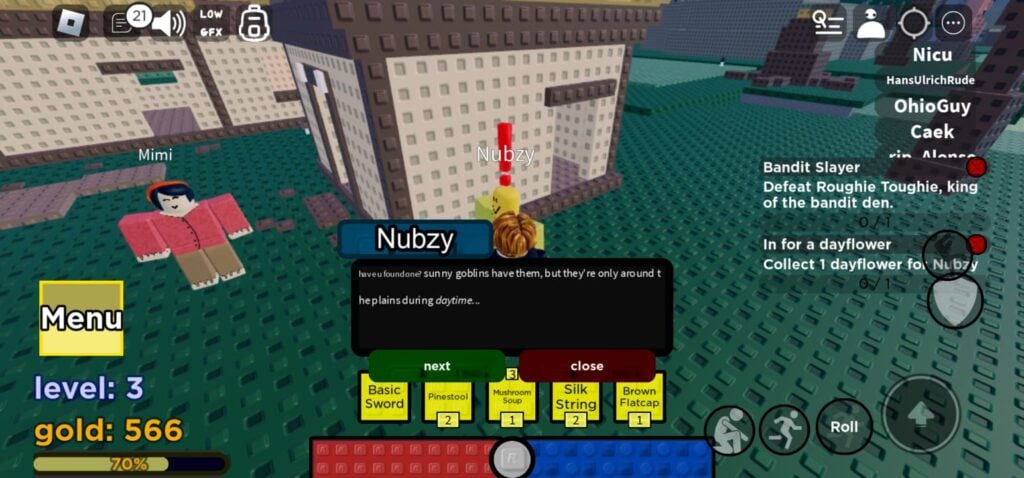
Photo: The Elemental Deux
After finishing Sheriff’s quests, you can head to Nubzy, which is found on the other side next to Mimi, where he will give you another quest, which is for a dayflower.
The quest will require you to collect a dayflower for Nubzy, which you can get by defeating the sunny goblins that can also be found on the outskirts of the town but remember that they are only found in the daylight.
Slime Management
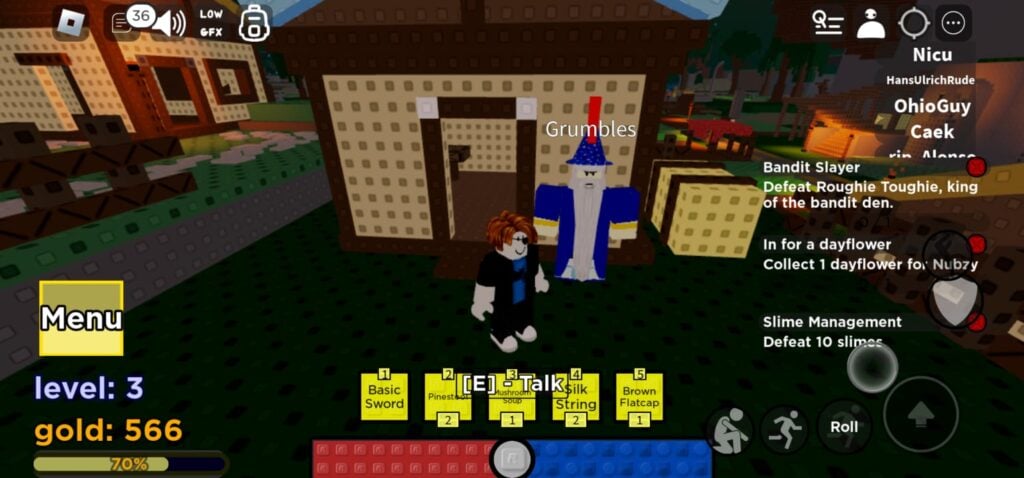
Photo: The Elemental Deux
Grumbles would also have 2 missions for you regarding the slime enemies. You will find him in front of his house, which is next to the rich villager.
The first one would be Slime Management, which will require you to defeat 10 slimes, which can be found right behind Grumbles himself in the plains. You will notice blue camps; that’s where the slime monsters are.
Once you finish the quest, he will reward you with a staff of sparks, an apprentice mage chest, and apprentice mage legs, which you can equip to get stronger in Shadovia.
Goop Maestro
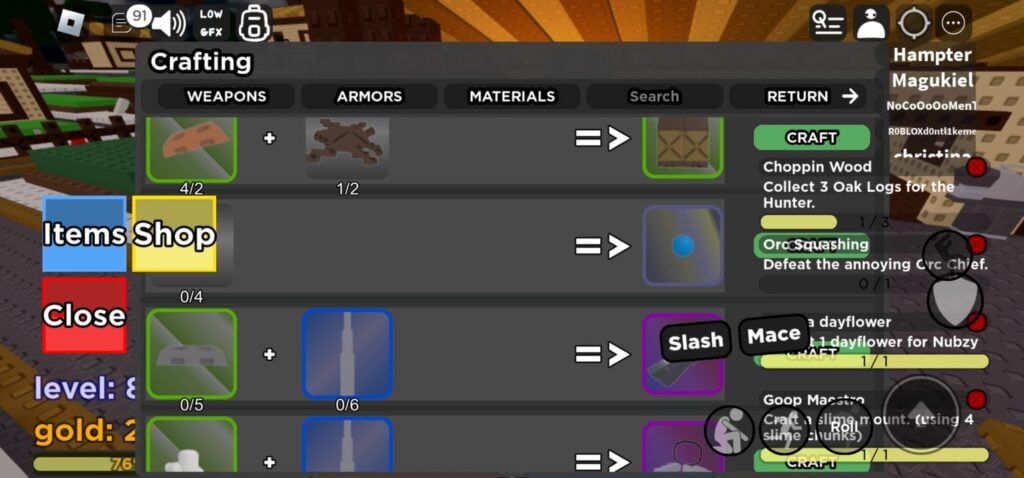
Photo: The Elemental Deux
You must finish the slime management quest before you can proceed to Goop Maestro. Grumbles will give you another quest where you need to craft a slime mount.
Slime mounts can be crafted using 4 slime chunks that can be obtained from defeating slime monsters.
Collect the 4 slime chunks and head to the blacksmith. Go to the crafting tab, which is the first option, and scroll down to the blue dot.
All you need is to have the slime chunks and press craft, then head back to Grumbles again to get your reward, which would be an apprentice mage cap and 100 EXP.
Orc Squashing
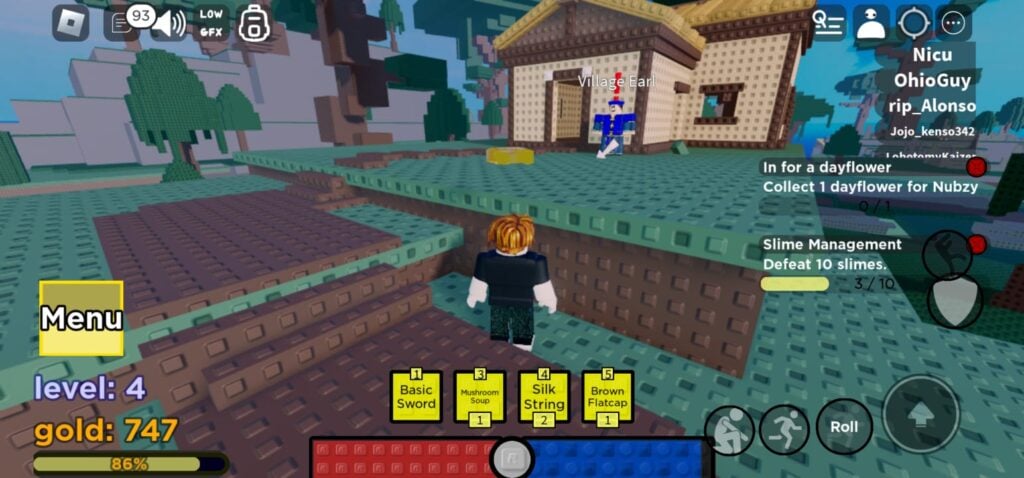
Photo: The Elemental Deux
Remember Sheriff? He told Earl that you have done some great work back there and that he can trust you for other quests.
Head to Village Earl, where you will find him in front of a house near the rich villager on top of the hill, where he will assign you, the orc squashing quest.
Remember that you must finish all of the Sheriff’s quests in order to get that quest. The quest will require you to defeat the orc chief, whom you can find near the desert right after the slime camps.
After returning to Earl, he will give you the Grimoire, which is the double jump we mentioned before that you can use by double-tabbing on the jump button. He will also give you 75 EXP as a reward.
Bad Bunnies
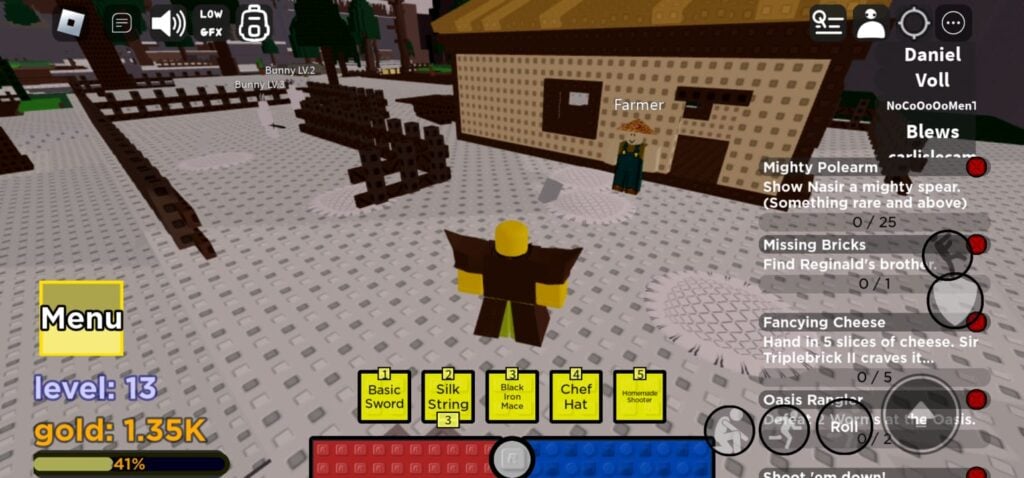
Photo: The Elemental Deux
Right behind the Sheriff’s house, you will find the farmer, who will only assign you to one quest, which is bad bunnies.
He will ask you to take out 4 bad bunnies. Most of the time, you will only find 2 right next to the farmer, but don’t worry; once you defeat them, more will be respawned in no time.
The farmer will give you a pokey dagger and 15 EXP as a reward.
Easy as Soup
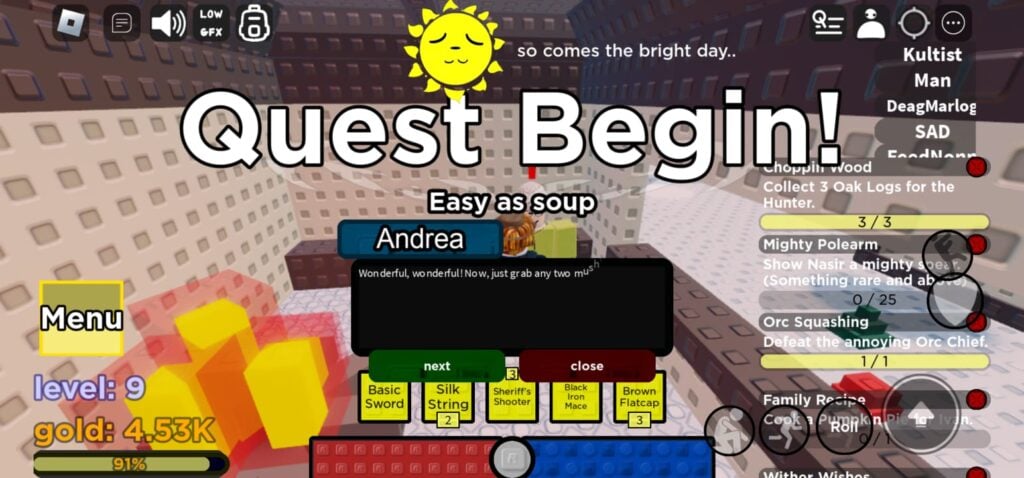
Photo: The Elemental Deux
Then you can head to Andrea, where she will give you 3 important quests that will award you with a lot of EXP.
The first one is the “easy as soup” quest, which requires you to cook 1 mushroom soup using any type of mushroom; mostly you will find them on grass named Redcap.
Once you get 2 mushrooms, head to any campfire and press on rest, then a pot icon will appear where you can use it to open the recipe menu and cook the mushroom soup.
Easy as Pie and Gradma’s Perfect Meal
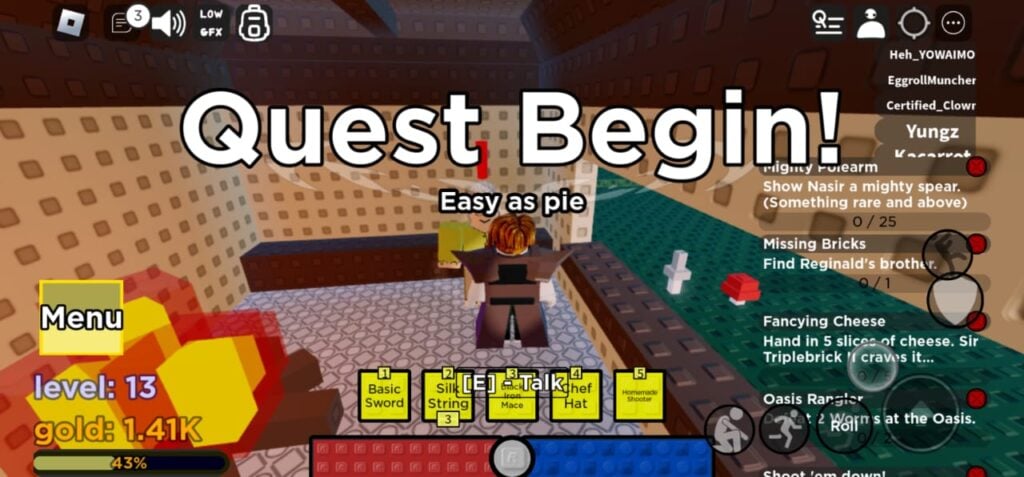
Photo: The Elemental Deux
Right after you finish the “easy as soup” quest, Andrea will assign you another task, which is to make a pumpkin pie, which will require pumpkins, milk, and eggs.
Pumpkins can be found in the graveyard, while milk and eggs can be found at cow’s places, or you can even buy them.
Then you will have grandma’s perfect meal, which requires you to cook the perfect omelet for Andrea, which requires drako eggs, cheese, and milk.
Remember that you will find a drako egg by defeating an adult drako worm or even in a desert chest.
And for the good part, after all these quests, you will receive a total of 1715 EXP, a chief hat, a glow potion, and one lucky potion each.
Hunter’s quests
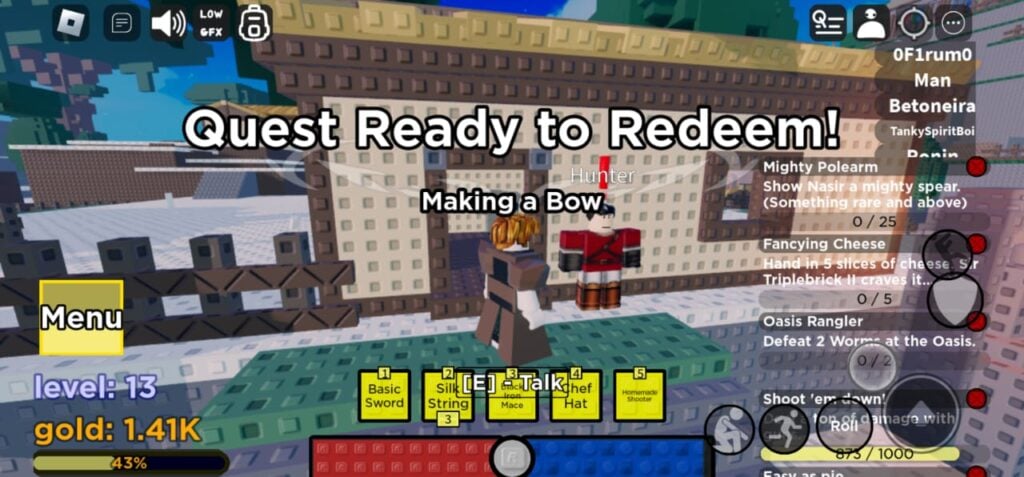
Photo: The Elemental Deux
Near the small fountain next to the rich villager, you will find the hunter, who has 3 quests for you, starting with the choppin’ wood quest, which requires you to collect 3 oak logs. Use the lumber axe the hunter gave you to hit any tree to get the oak logs.
Then you will be given the making a bow quest which requires you to craft a bloxwood bow at the blacksmith.
After you have shown the hunter how strong you are, the last quest would be to be the best archer in town, which requires you to defeat Fletch, which can be found near the bunnies.
After finishing those quests besides the EXP, you will receive the Bow Sniper skill, which allows you to fire arrows further with more speed.
Shadovia Chapter 2 Walkthrough – Forest
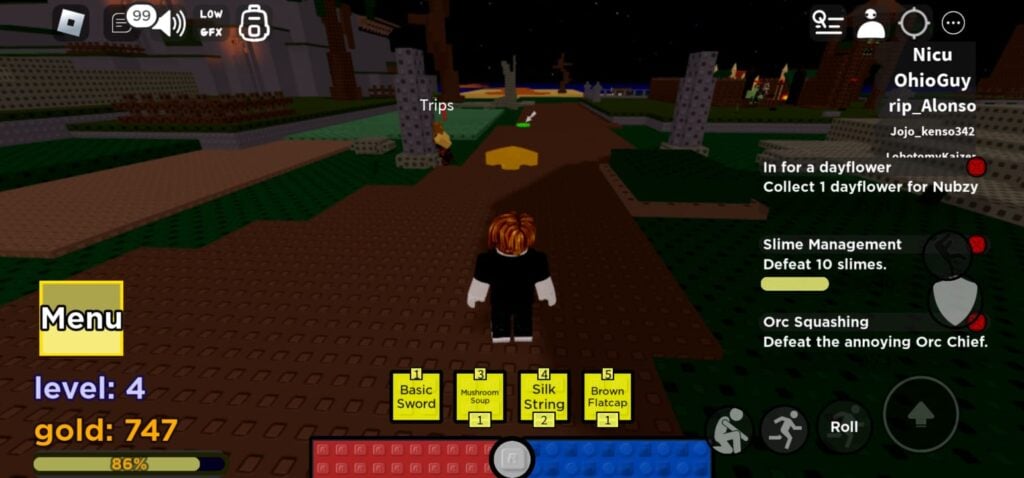
Photo: The Elemental Deux
After you have finished all the quests in the main town, it’s time to go outside and explore the whole map in Shadovia.
The first place you will find yourself going outside of spawn is the Shadovia forest.
In Shadovia, this is divided into two things: the forest and the upper forest.
In the forest, you will only find 2 NPCs to get quests, trips, and Sir Burnsalot.
Devotion
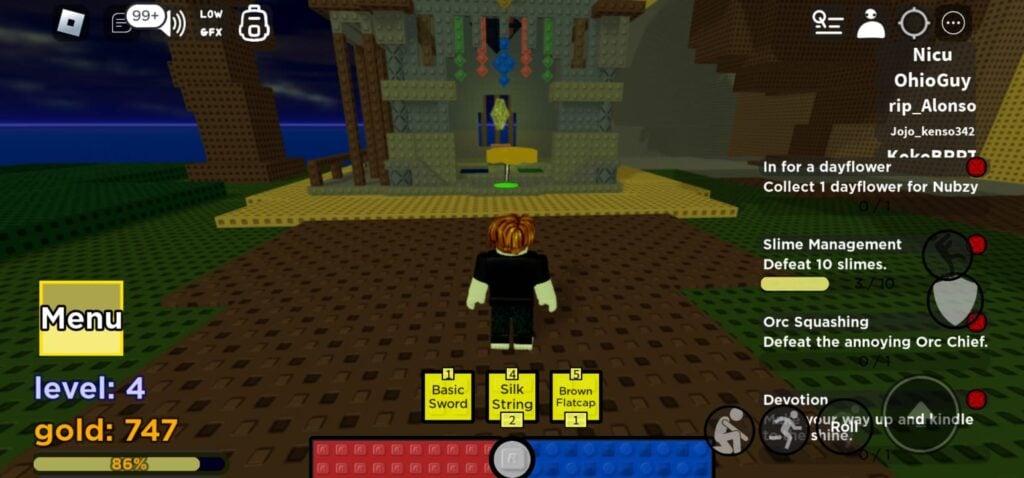
Photo: The Elemental Deux
Trips will give you a quest where you need to kindle to the desert shrine. This shrine can be found right behind Trips on a hill that you will need to climb by holding the jump button.
Once you kindle to the shrine and return to trips, he will give you a reinforced shield, 4 bronze ingots, and 250 EXP as a reward.
Lost Scourge and Sir Burnsalot
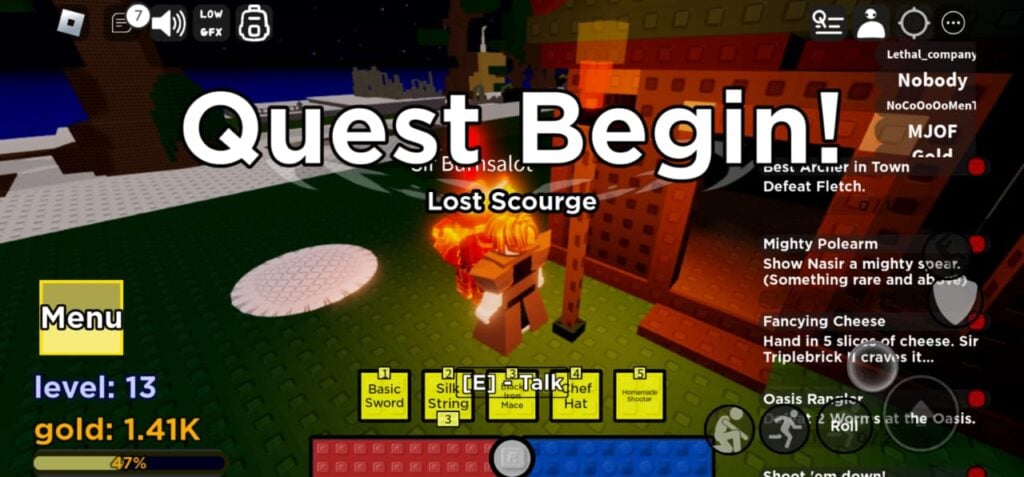
Photo: The Elemental Deux
Sir Burnsalot is the second one you will meet in the forest for 2 more quests. You can find him on the left of the slime camps, right next to his house.
The first quest is “Lost Scourge,” where you are asked to defeat 6 lost souls at night, and you will find them right behind Sir Burnsalot’s house or next to it.
The next quest is “Steadying Darkness,” which you can get after finishing the lost scourage, and you will be asked to defeat the disciple of Azurewrath, which can be found in the church behind Sir Burnsalot.
Conclusion
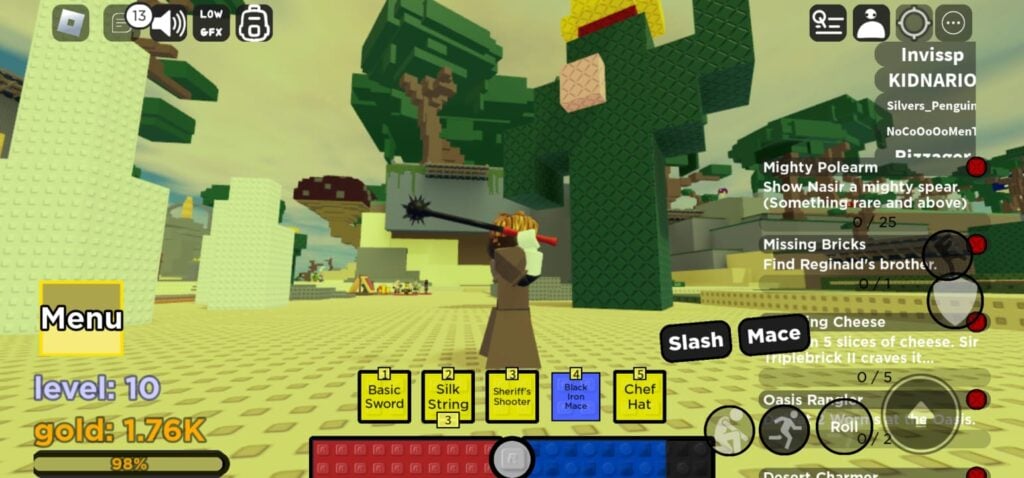
Photo: The Elemental Deux
Shadovia offers so many places with a huge number of quests, where you will never get bored and will always have something to discover and a new part of the map to explore.
Also, it’s not only about the quests, but you can always head to the blacksmith, for example, to craft and upgrade new weapons to best match your playstyle.
If you loved this guide, you might also be interested in: Ultimate Shadovia Fuses Guide, Guide: How To Get The Divine Katana In Shadovia, and Ultimate Shadovia Weapons Guide.


